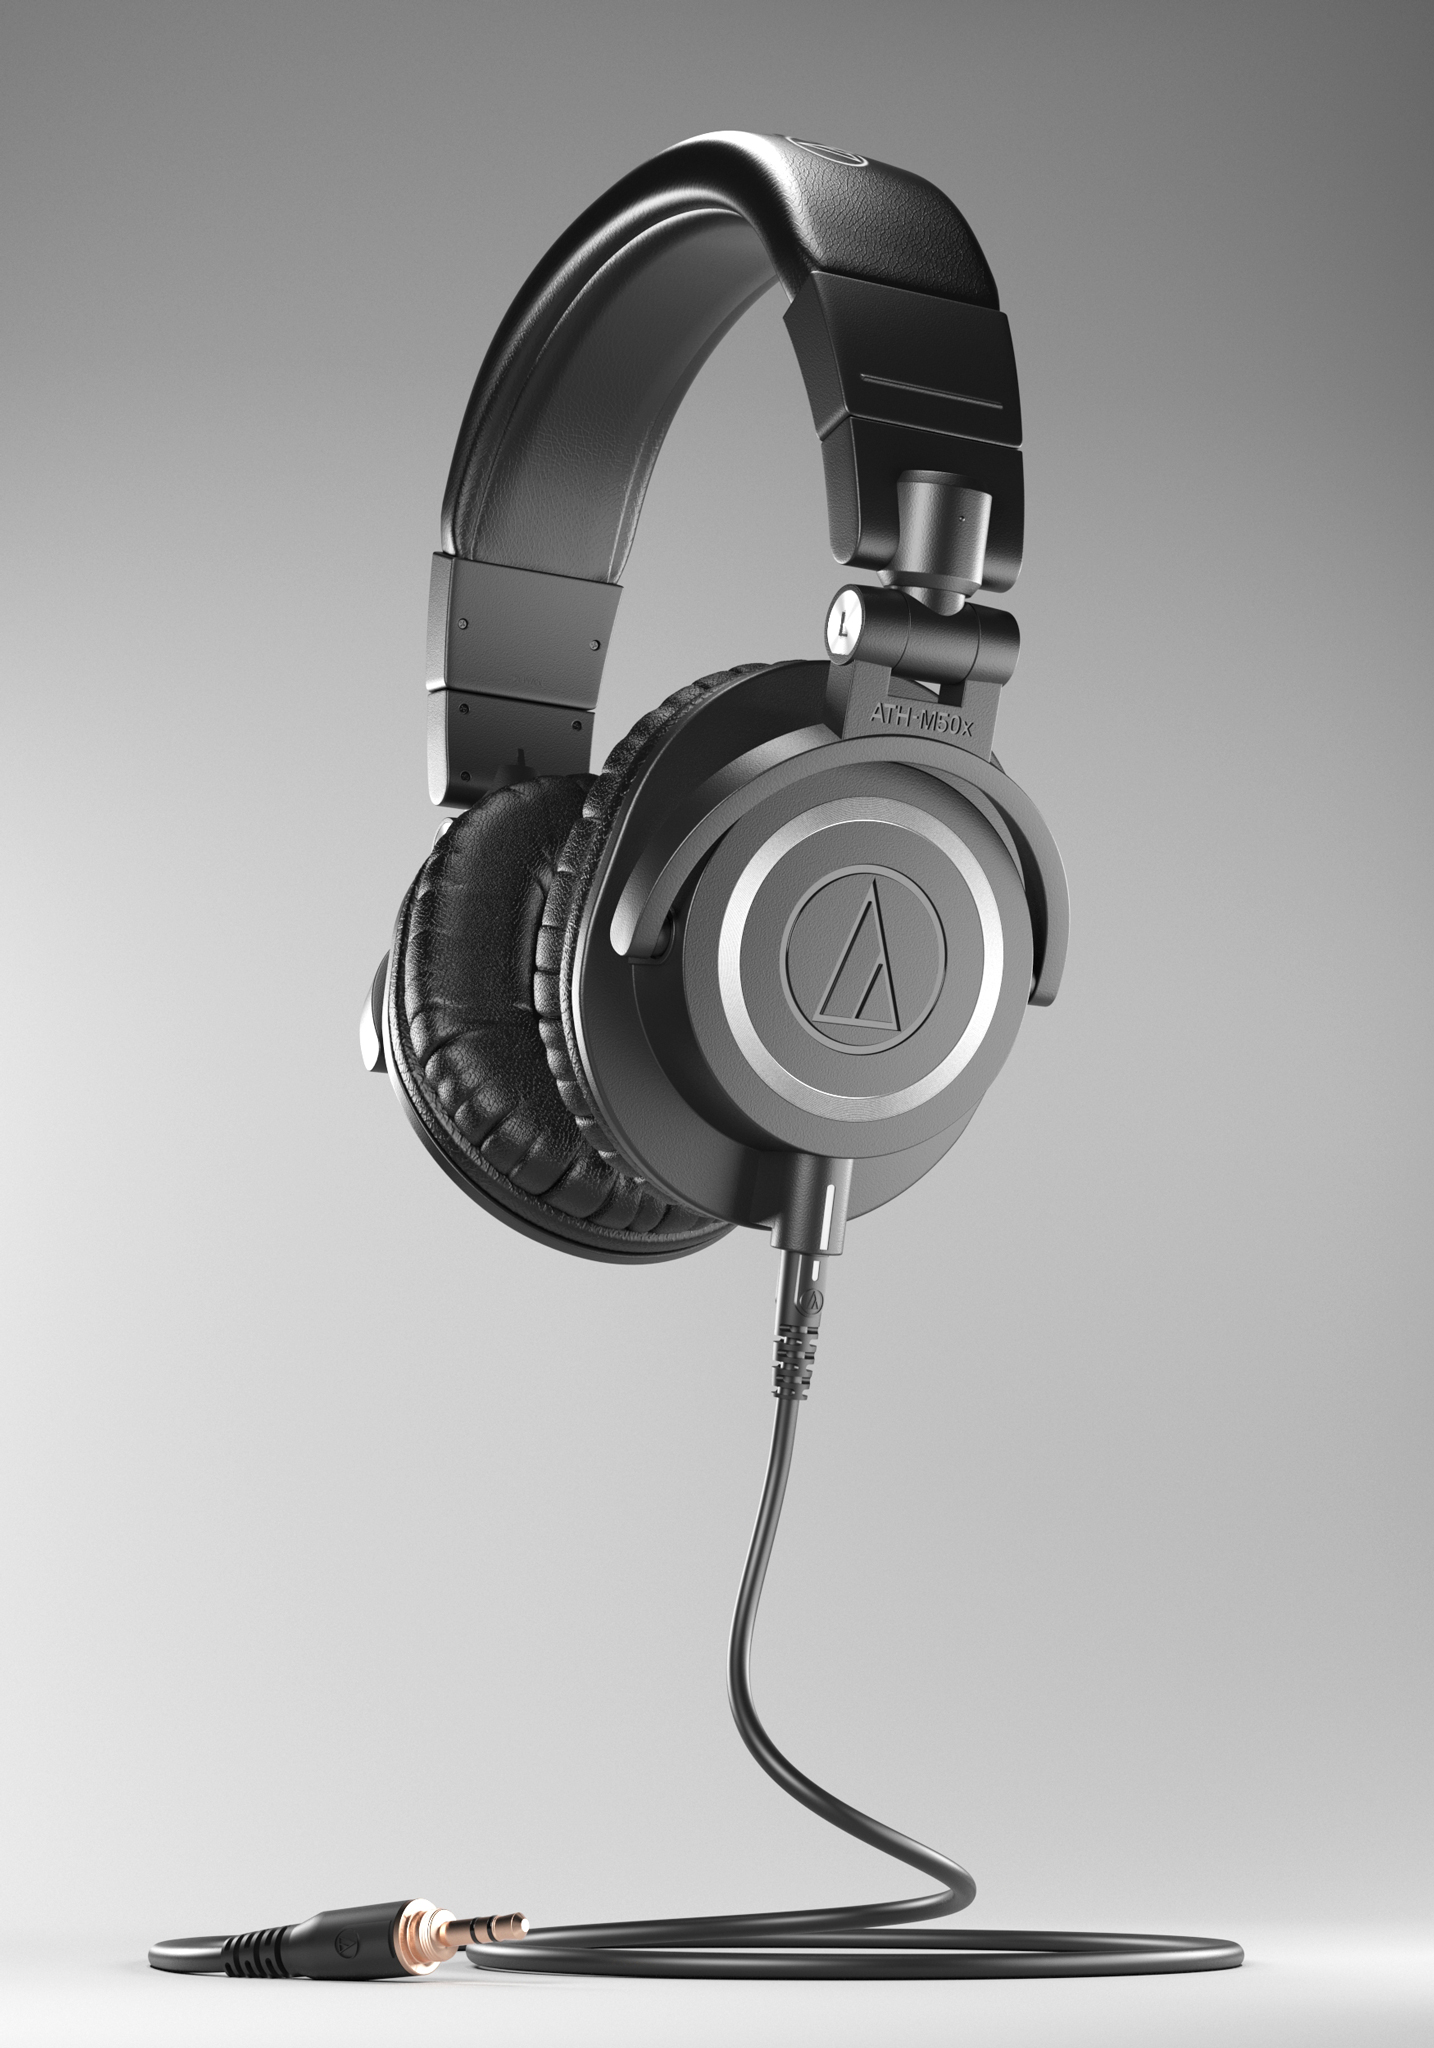
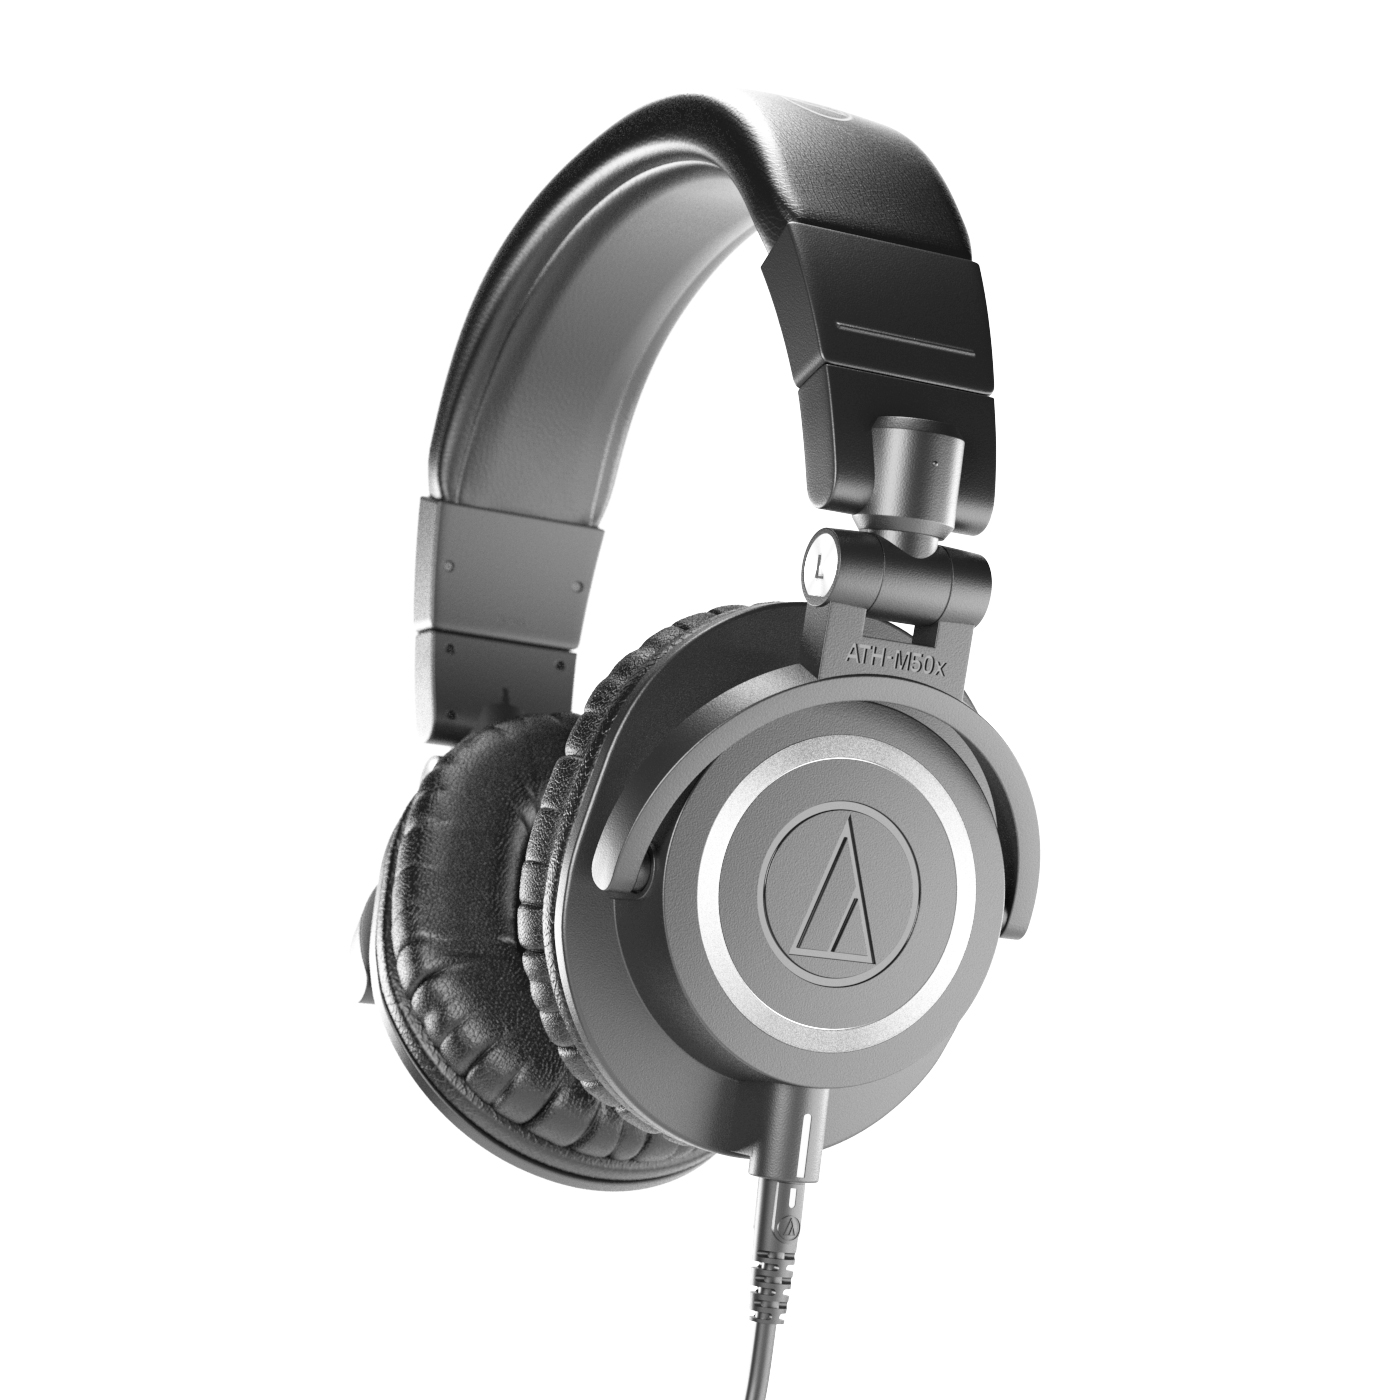
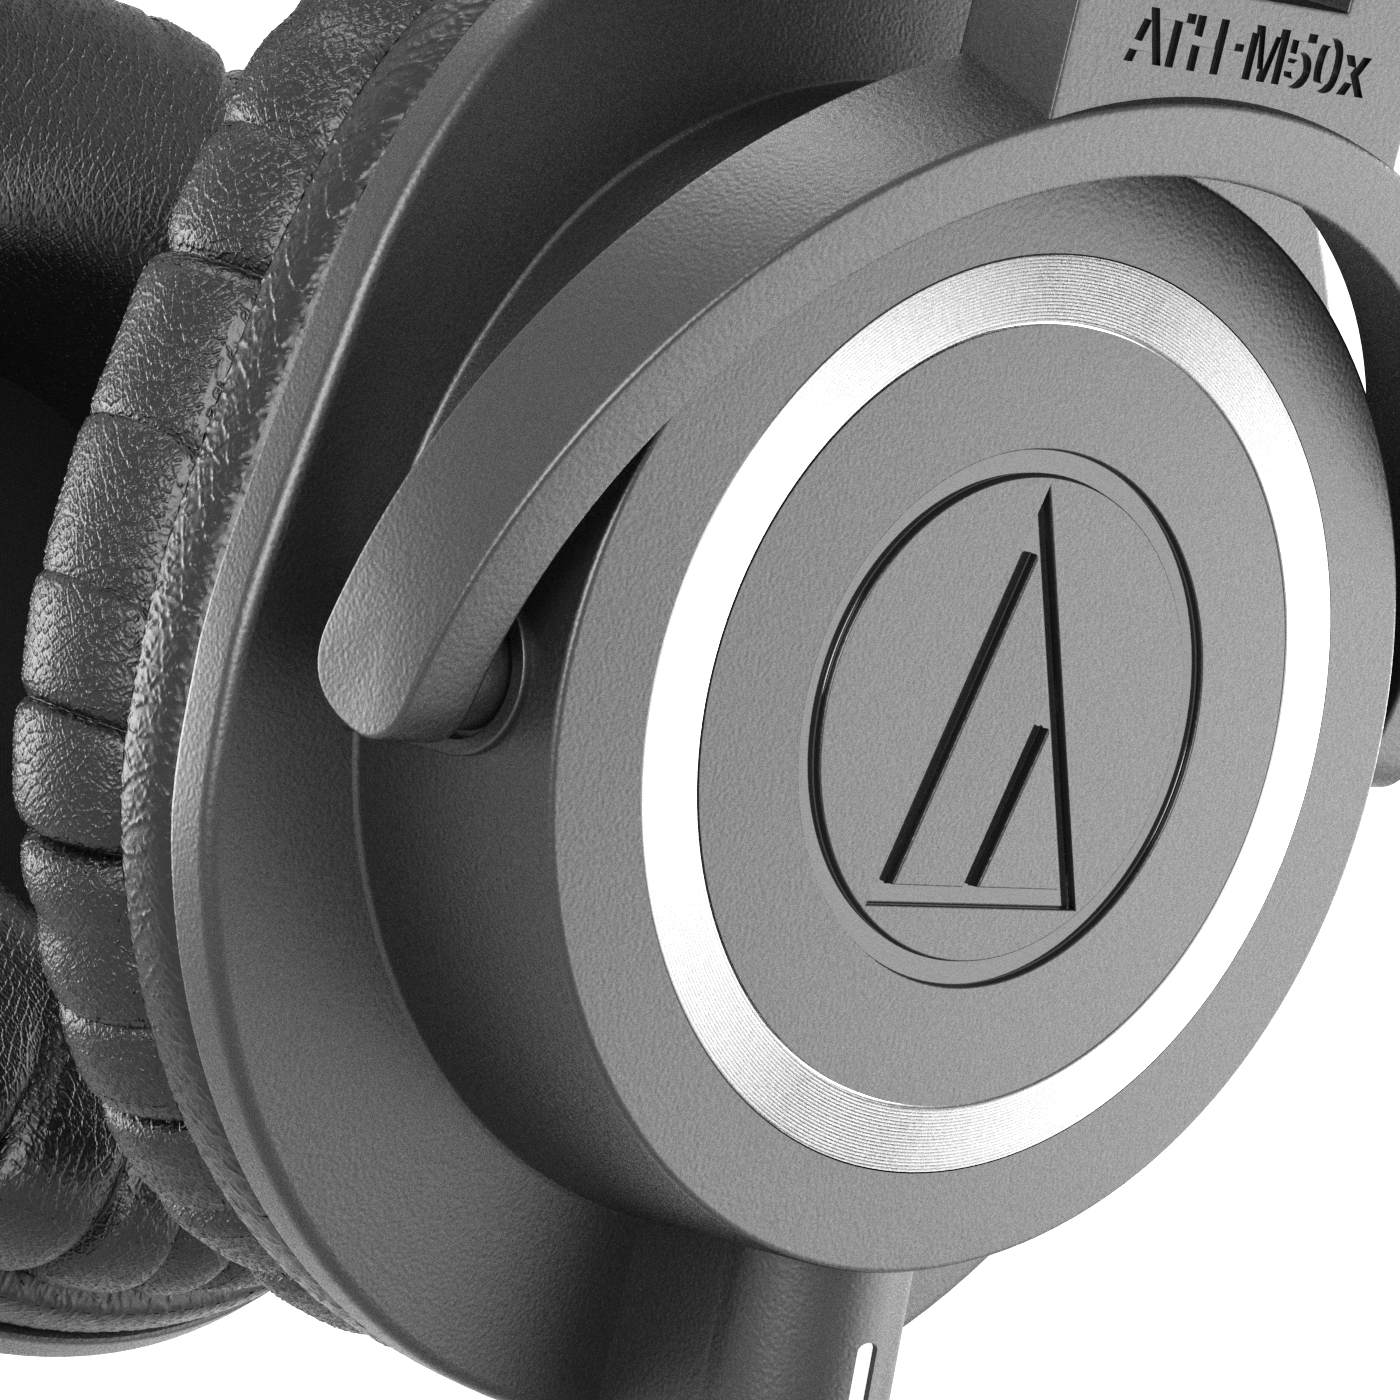
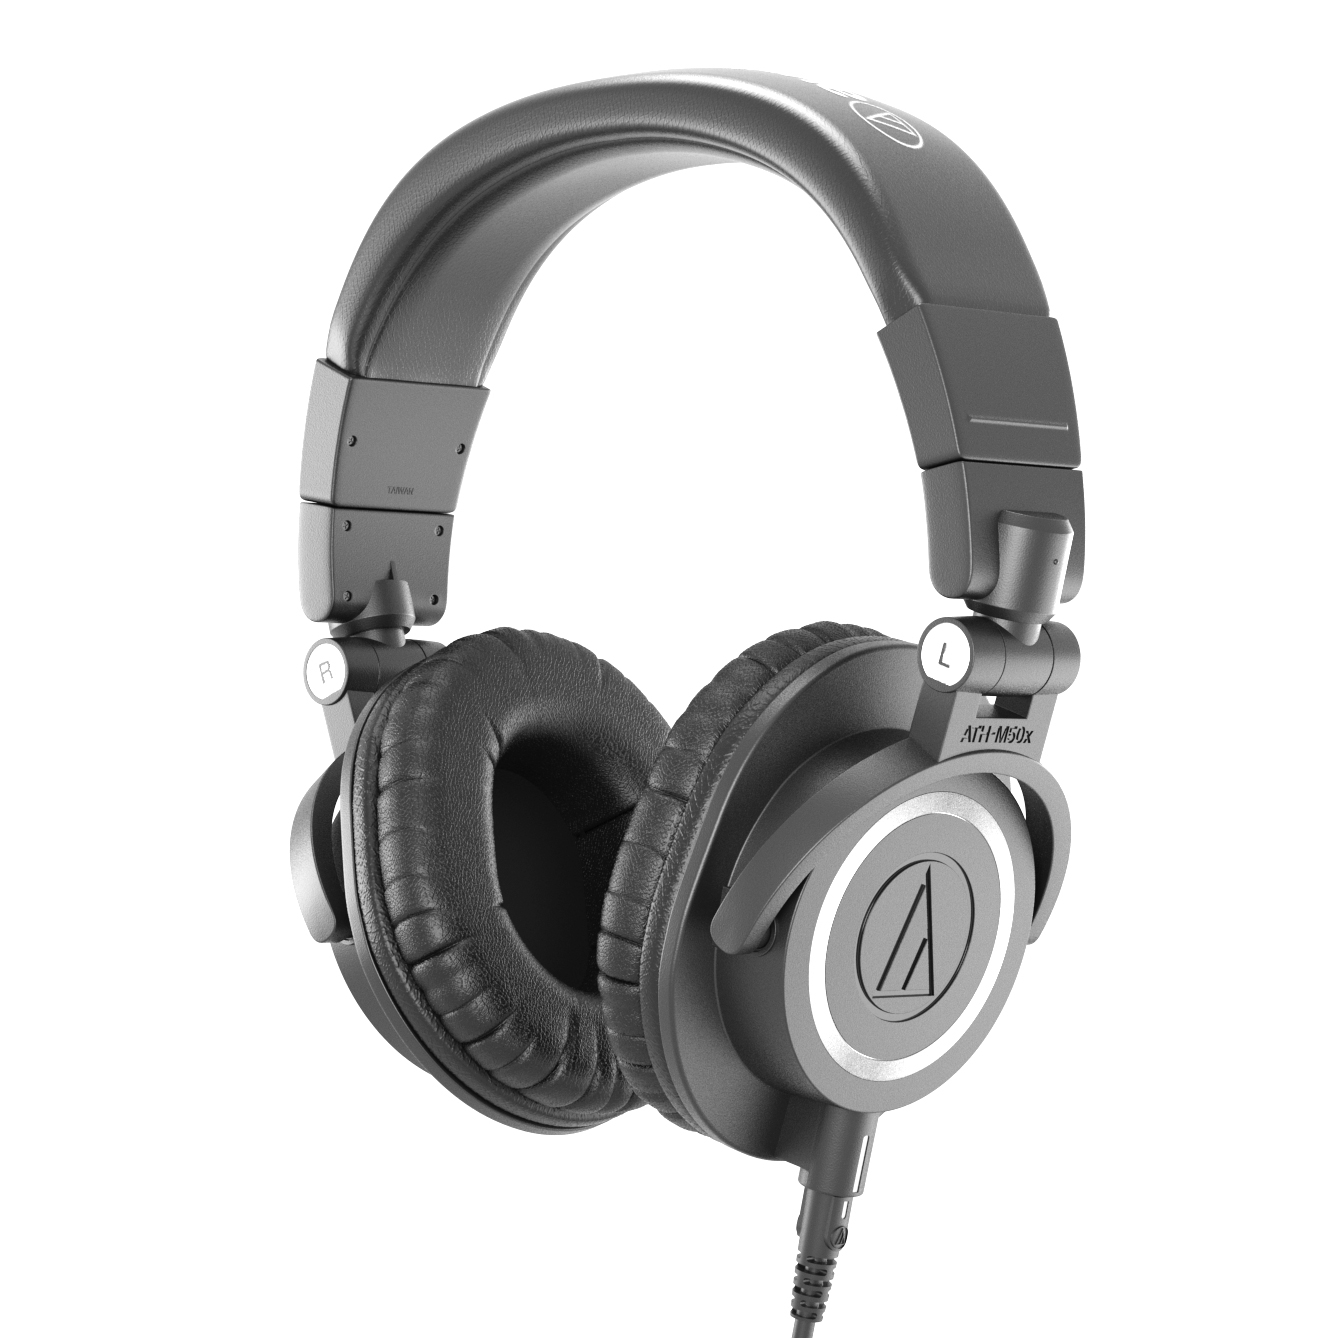
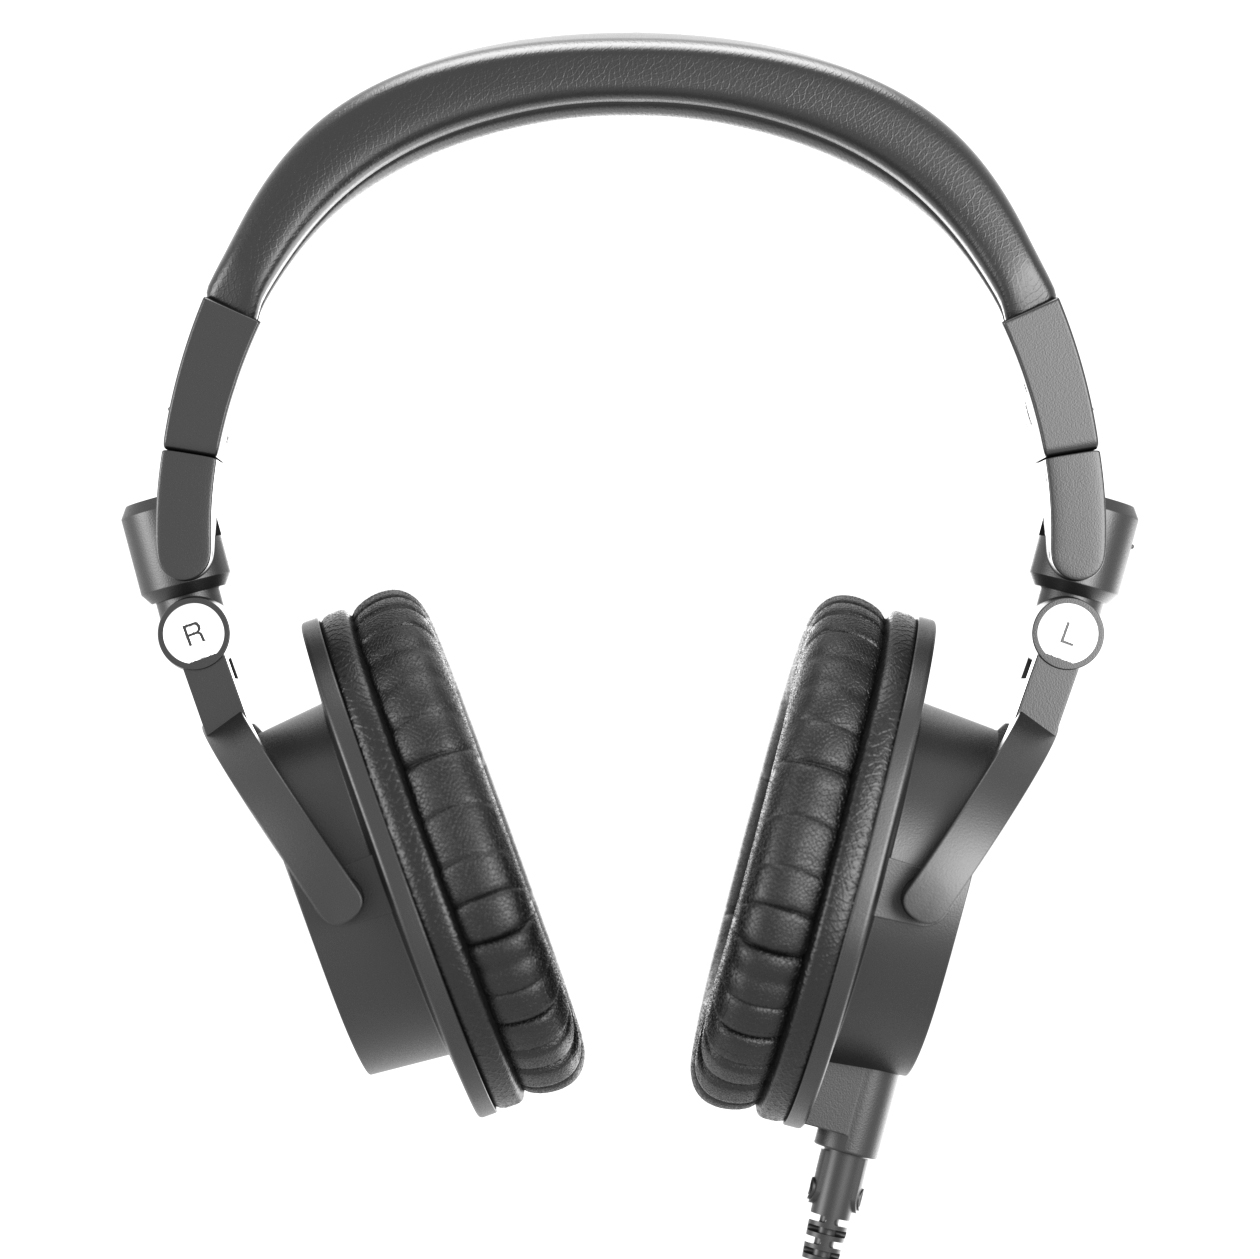
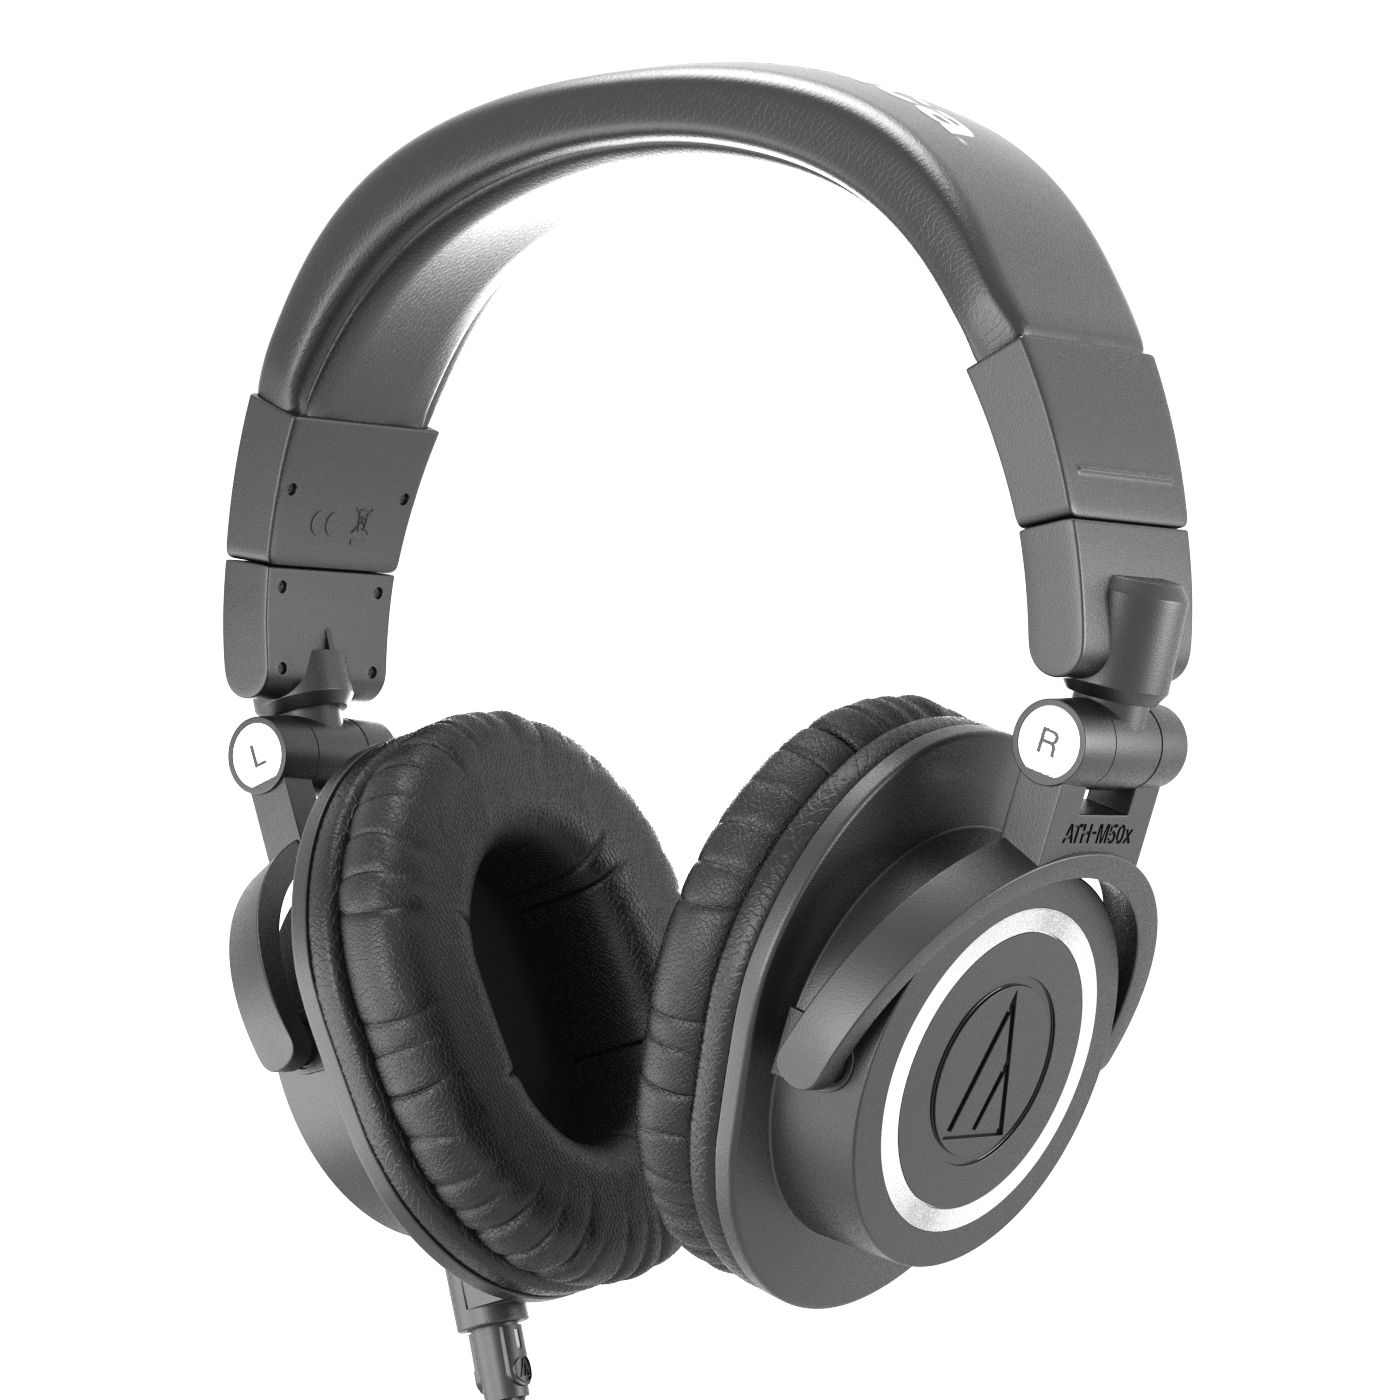
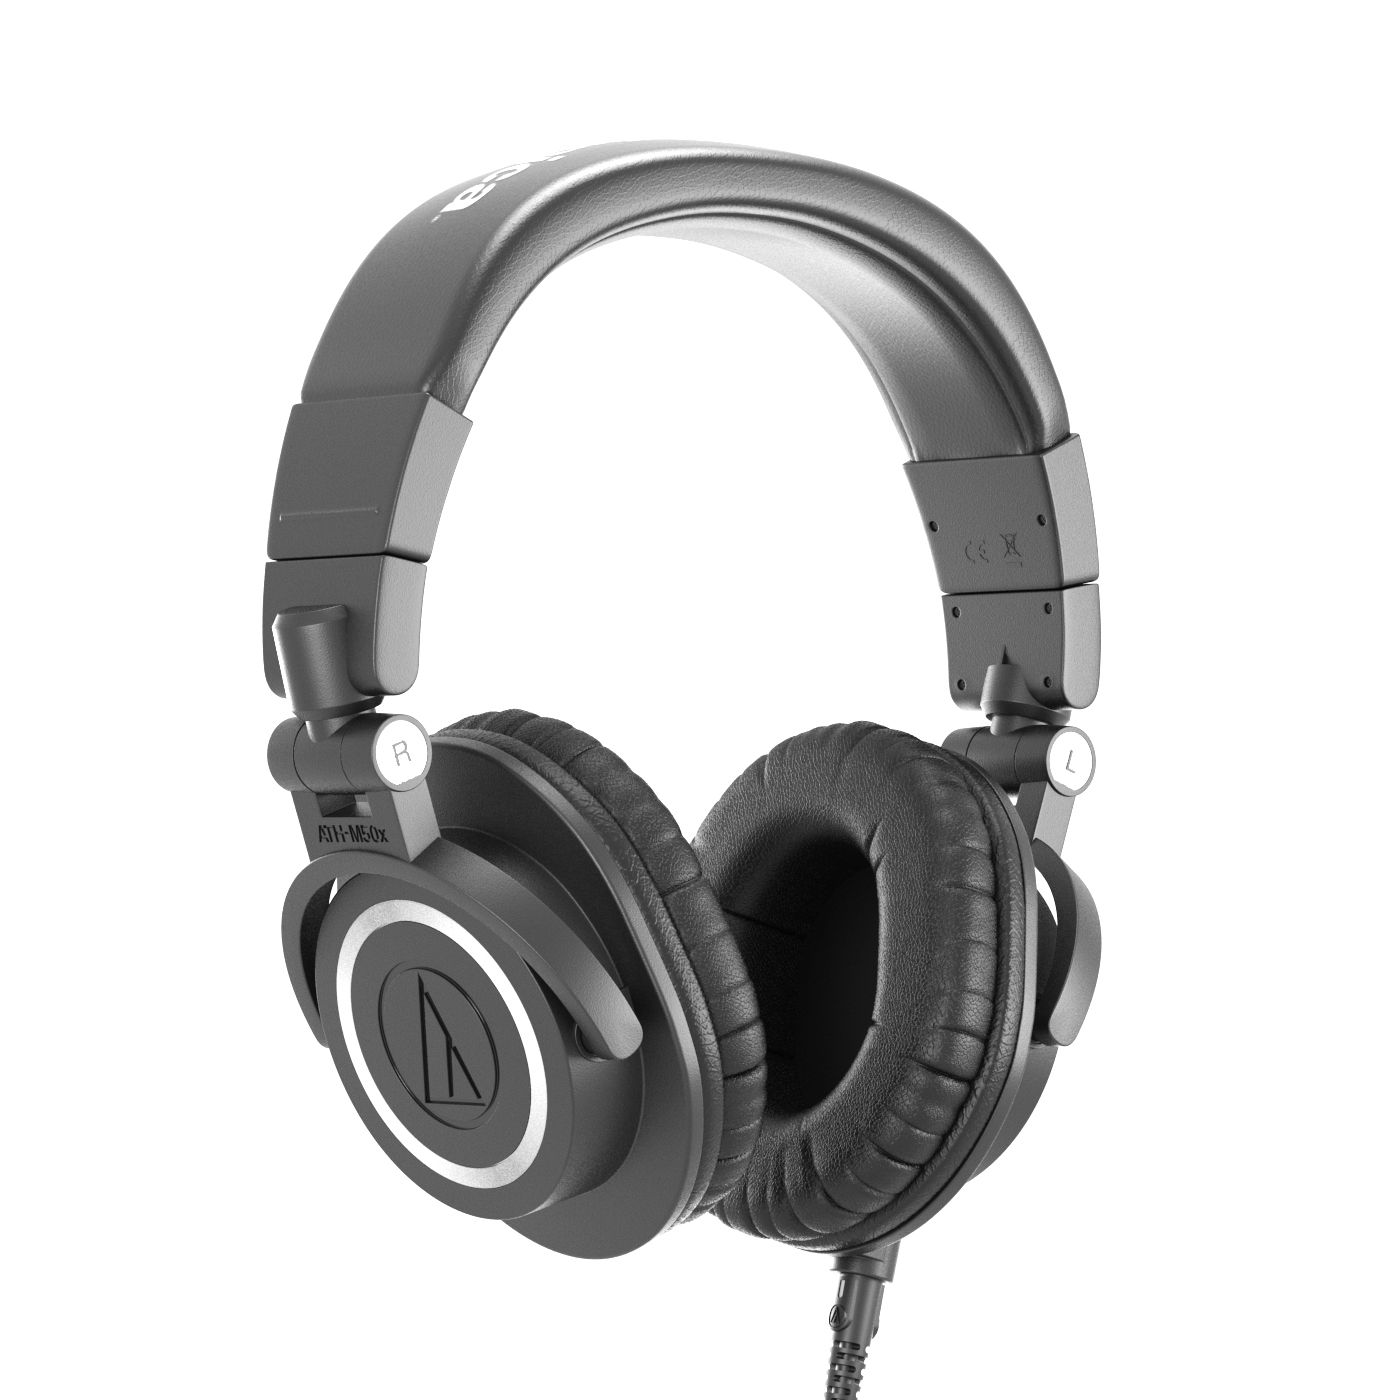
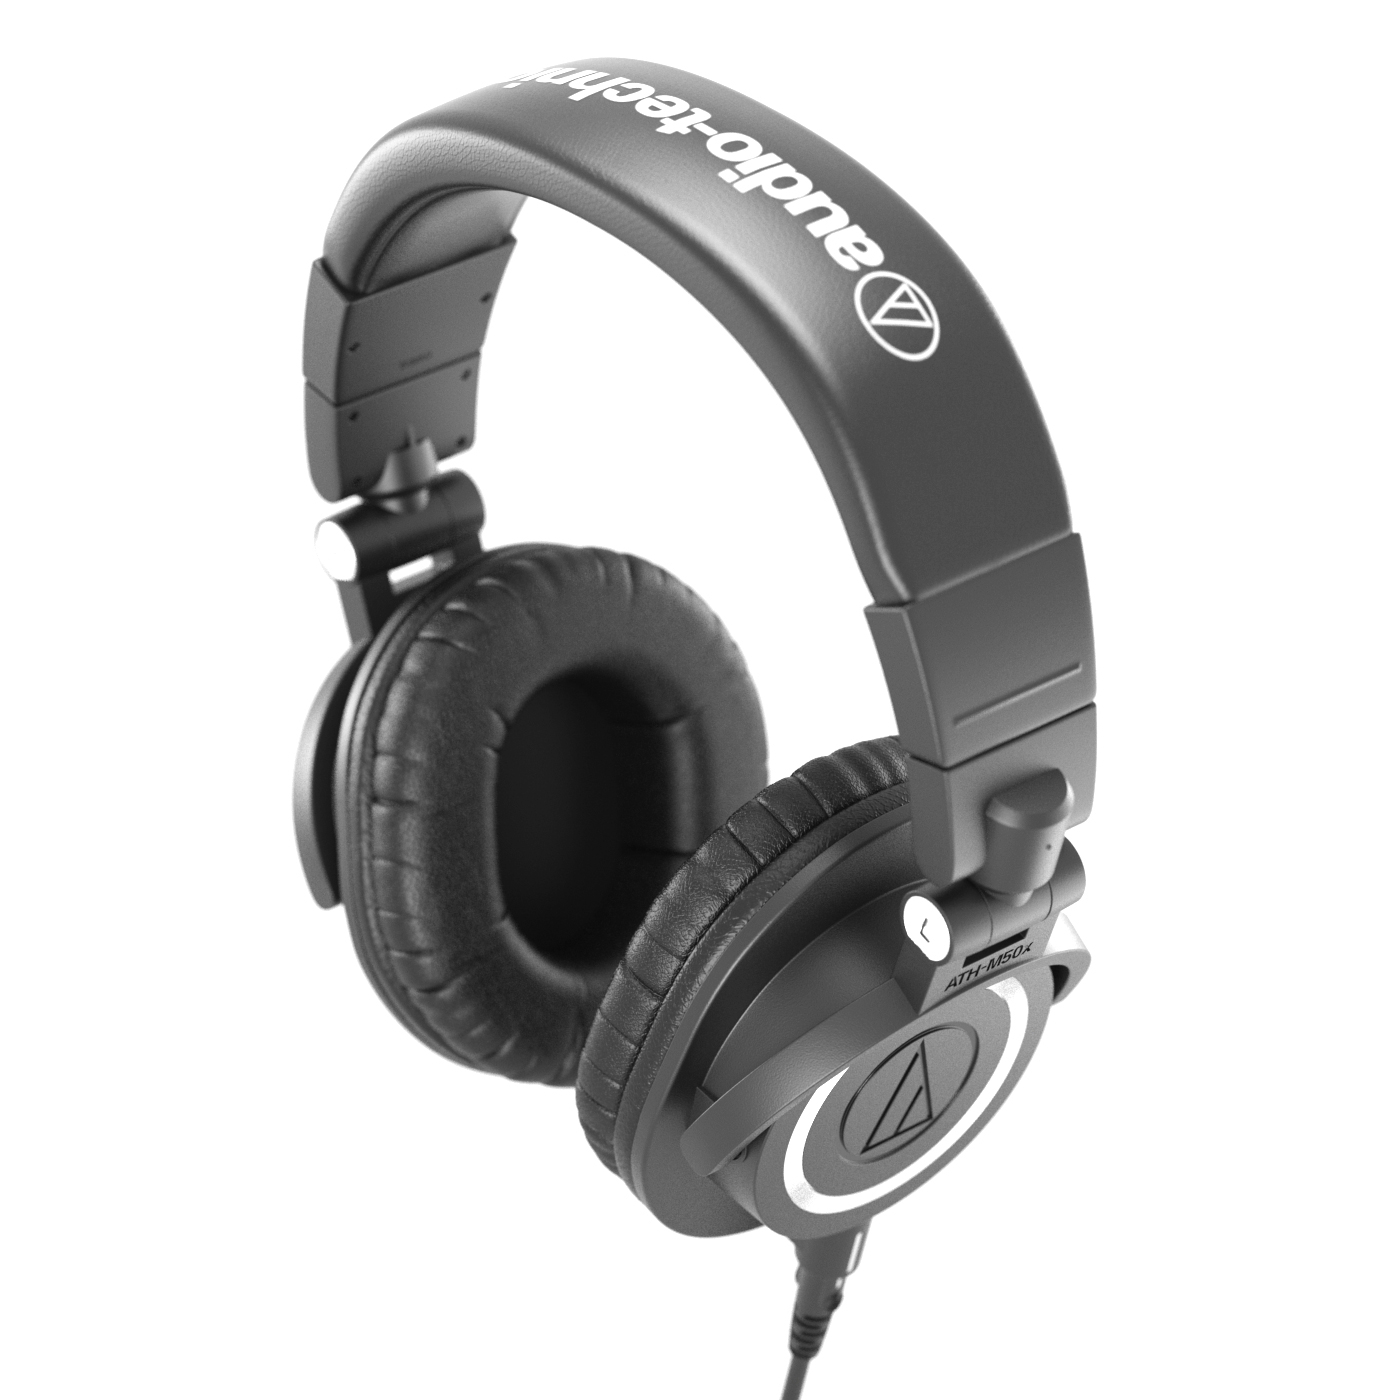
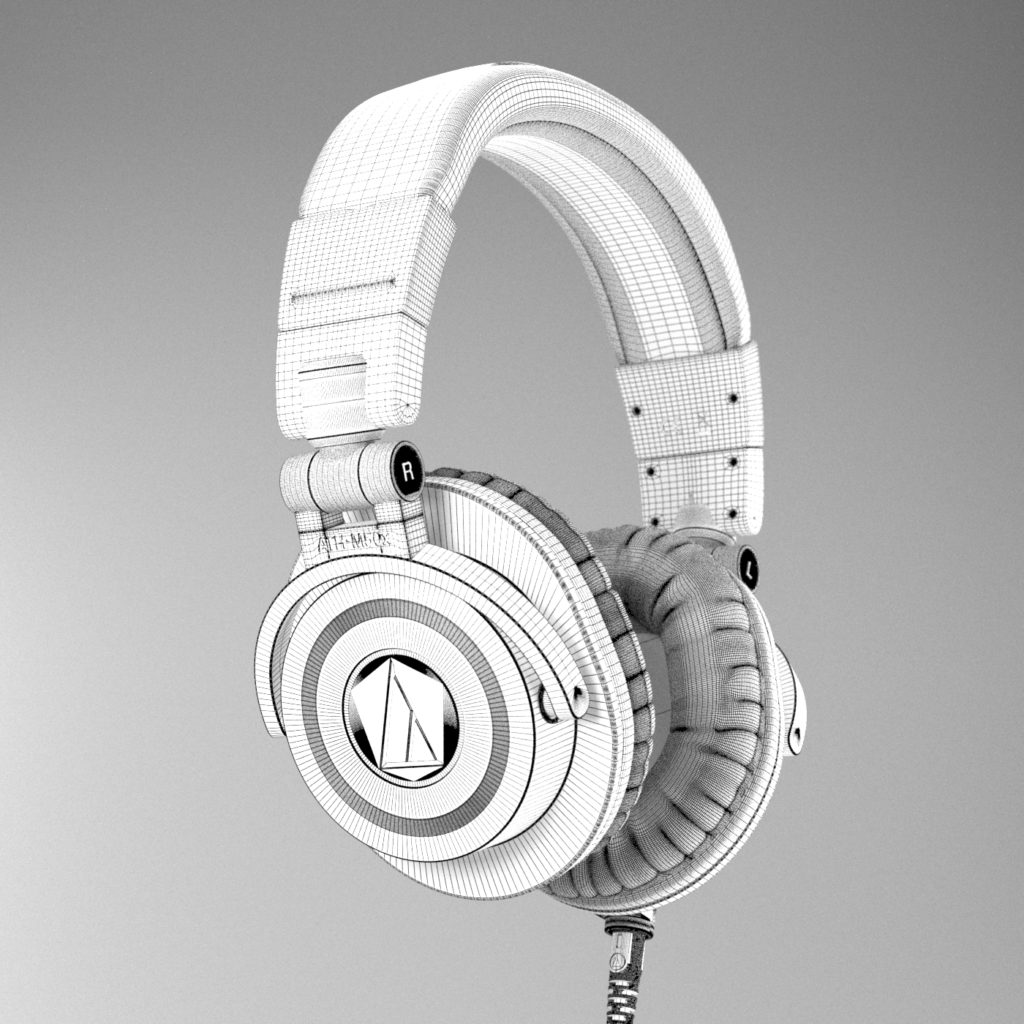
3D model of Audio-Technica’s popular ATH-M50x headphones. Modeled in 3Ds Max and rendered with V-Ray 3.6
My goal is to one day be as great as Bertrand Benoit at modeling and rendering photoreal images. In order to reach that goal I must practice. A lot. And I don’t know of a better way to start practicing than to model something that is right in front of me, on my desk, at all times. So I picked up my headphones, borrowed a digital caliper from my cousin (that he’ll probably never see again), and went to town.
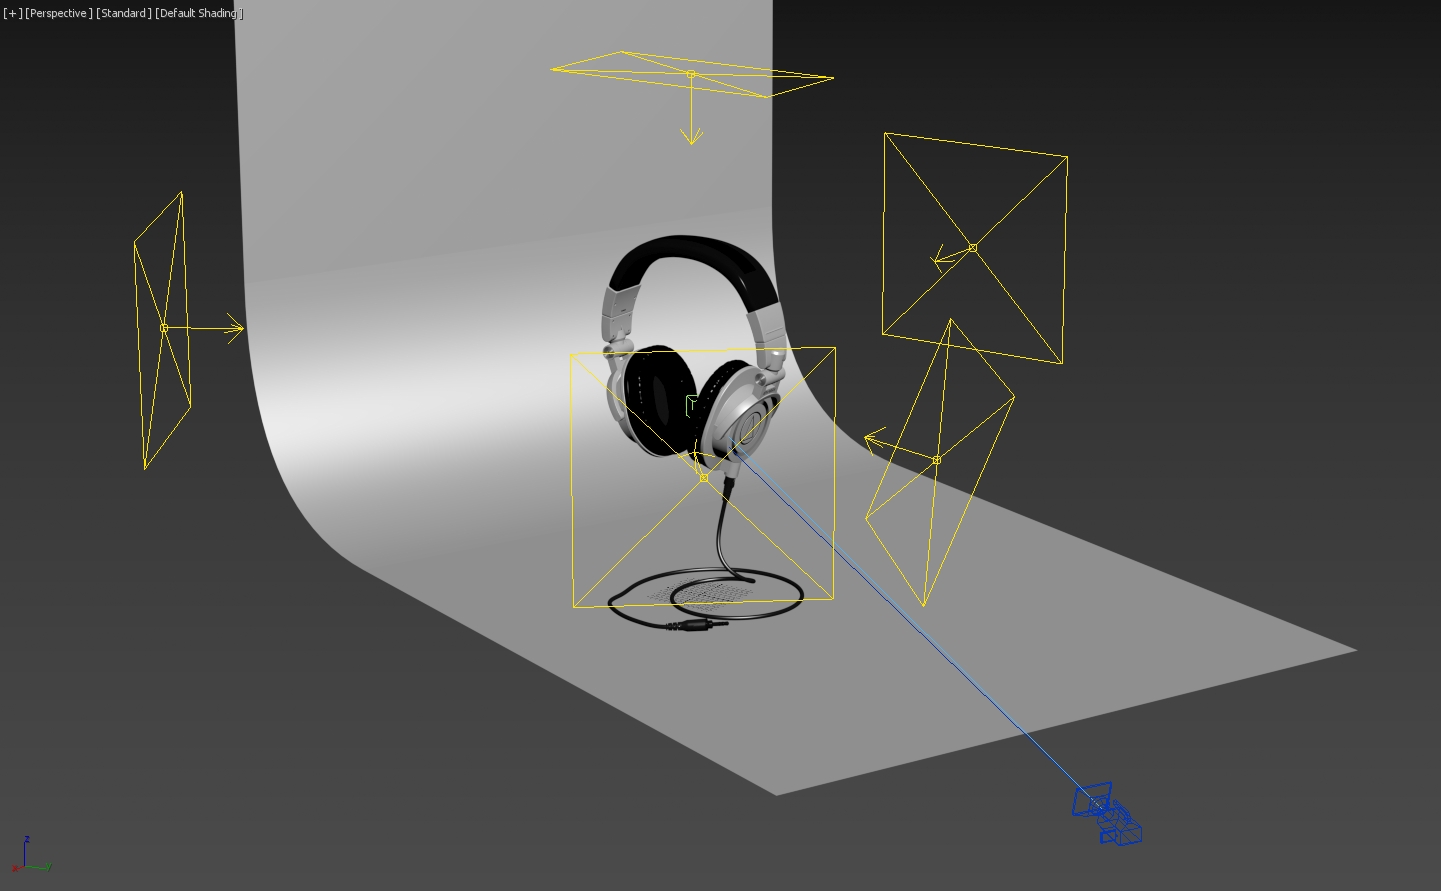
[Update]
Someone over at the Chaos Group Forums asked how I went about modeling these headphones. I figured it would be interesting to include my answer in this post.
“I think that looks great. Modeling, textures, lighting all very nice.
Can you give any info on how you went about the modeling? Did you use open subdiv? What modeling learning resources have you made use of? Grant Warwick?”
My answer: “Thanks!
I basically started out with a caliper in one hand and my headphones on the other. I wanted to get all the measurements and proportions as accurate as possible.
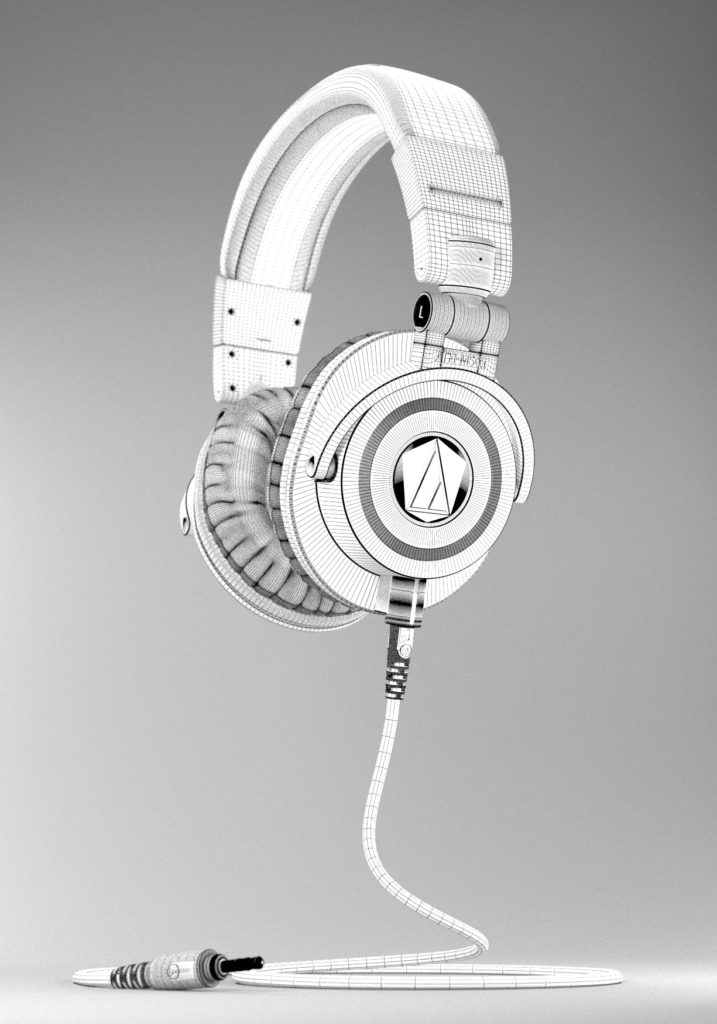
I started with the earcups (is that what you call them?) by drawing a spline in that oval shape and extruding it, insetting, extruding… etc, and then chamfering the edges.
The plastic parts of the headband started out as boxes with a bend modifier plus TurboSmooth. Didn’t use open subdiv because, to be honest, I haven’t learned how to use it yet, and as far as I know open subdiv is better for character animations or for objects that are going to be deformed in an animation, which is not the case for this model (except for maybe the headband if it were to be bent to be put into a model’s head–but even then, the mesh over there is pretty uniform as it is)
The earpads were made by taking the outer edges of the earcup and turning into a shape and applying a sweep modifier to it. To create those leather creases I pushed and pulled vertices by hand and applied a couple of turbosmooth iterations to smooth them out.
The ring around the logo is actual geometry with a reflective material. I tried to do it using a displacement map at first but I wasn’t satisfied with the results. Doing it in geometry allowed for greater control at the cost of yet more polys and longer render times (buckets will get stuck there trying to smooth out the ridges if you let it). I think the reason I did it was because I wanted this model to be good enough for closeup shots. But if I were to use it as a prop for arch viz, for example, I’d probably get rid of that geometry in the ring and do it in the material in order to decrease render times and avoid having buckets getting stuck over there.
And that’s pretty much it, I think.
I started learning 3D in general with an arch viz online class offered by Melies, here in Brazil, called Perspectiva, and taught by Ricardo Eloy. Ricardo is not only very knowledgeable in all things 3D and V-Ray, he’s also really good at being a teacher. Unfortunately this class is only offered in Portuguese. Another learning resource that has been instrumental to me is Arrimus3D’s YouTube channel. I learned a lot from watching his vids. Arrimus is also a great teacher. He’s concise and tries to explain concepts in a way that can be understood. I haven’t got Grant’s hard surface modeling course yet, but I intend to once I finish going through his V-Ray course and other 3D classes I’m taking.”
Arrimus3D’s free lessons have been instrumental for my learning of modeling.
